Wallpapering can be a time consuming activity requiring focus and attention to details during the whole process. Wallpapering has become more DIY friendly and our wallpaper design and material is made for a stress free and easy application. However, for a perfect result and efficient wallpaper installation process, there are a couple of things to consider before starting to hang the wallpaper and to do it correctly. Therefore, to help you prepare for your DIY wallpapering project, here will be some of the most important tips to learn before wallpaper installation.
Starting From Left Or Right Side Of The Wall
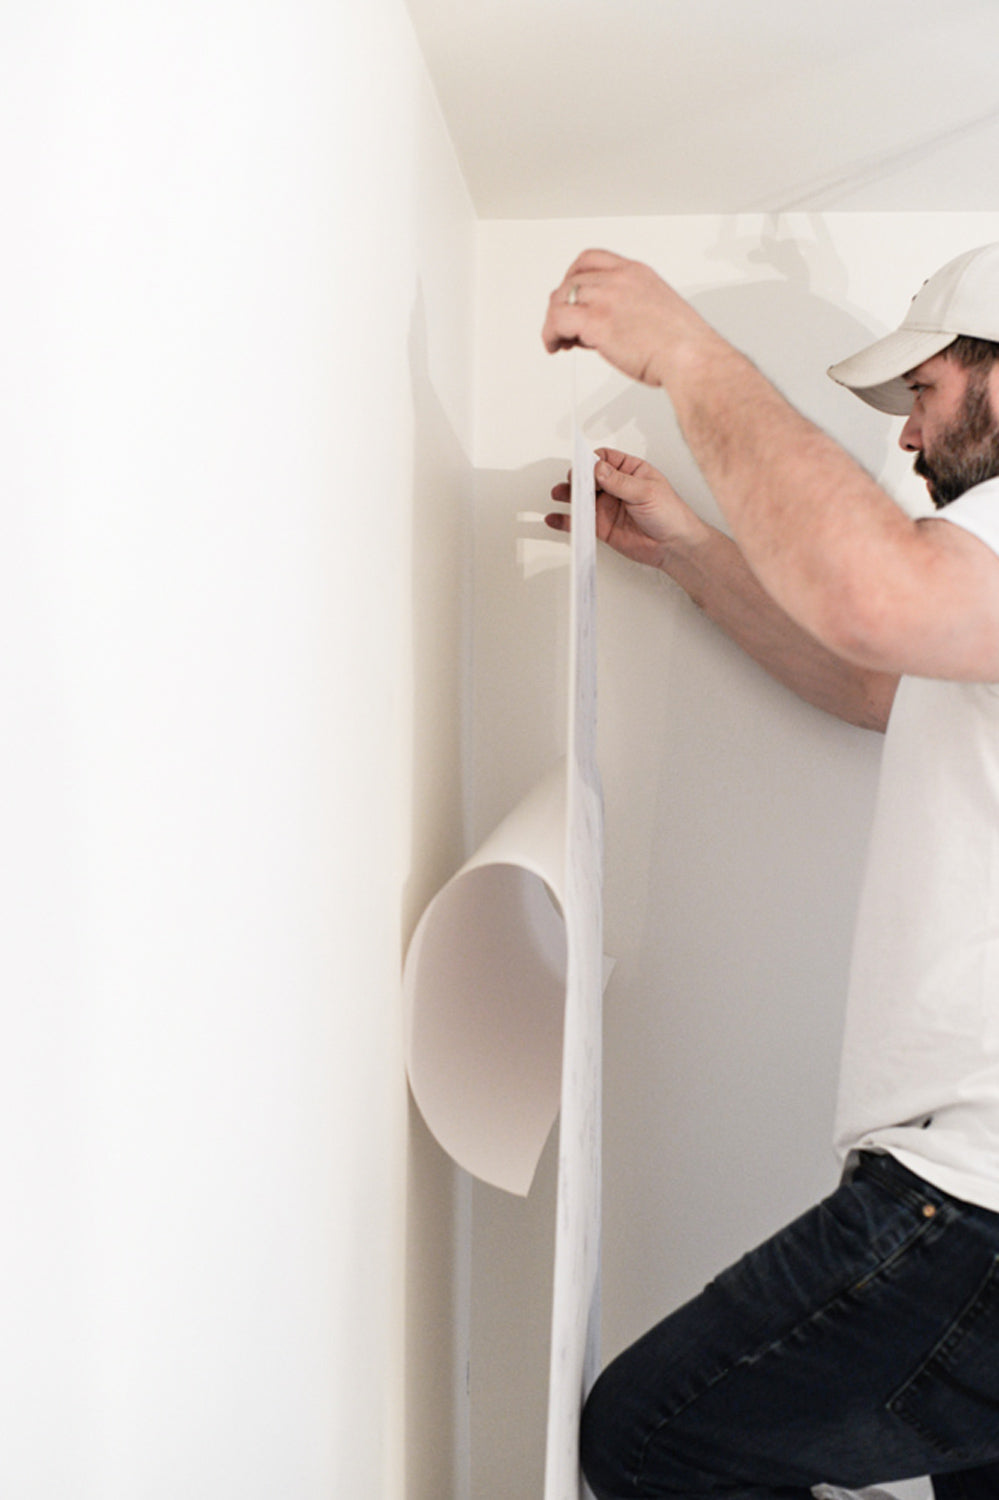
When it comes to wallpapering your chosen wall or the whole room, we suggest starting from one side of the wall to assure that the pattern of your chosen wallpaper will match perfectly with each added panel. The side of the wall from which to start can be influenced by the light as it is best to wallpaper away from the window to ensure that the wallpaper edges don't create a shadow in case they overlap slightly in some places. Another aspect to consider is that right handed people can find themselves feeling more comfortable wallpapering clockwise as they tend to trim the excess wallpaper from left to right. However, left-handed people could find it easier wallpapering the other way, as they would find it comfortable to trim the wallpaper from the right side to the left side. In the photo above we can see a well prepared wall for wallpaper installment from a bedroom project by Grey.

Furthermore, if your chosen wall has any windows you might want to see if it might be the best to start inbetween the windows to make the design central. If your chosen wall has a fireplace, it would be best to start from the chimney breast and work your way around to the corners where the chimney meets the adjoining wall and keep wallpapering further to the ends of the wall. This will ensure that the wallpaper design aligns with the focal point of the wall and is centered. In the photo above, we can see the Grey Meadow Wildflowers Nursery Removable Wallpaper that Grey had chosen for her bedroom accent wall together with detailed instructions for a perfect finished look.
Summary
-
Start wallpapering from one side of the wall, if the wall has no obstacles, while taking in consideration the light, as its best to wallpaper away from the window.
- If the wall has windows or a chimney, then wallpaper starting between the windows or the chimney breast for the wallpaper design to align with the focal point of the wall and be centered.
Hanging The First Panel Right
As walls are rarely perfect and 100% straight we suggest hanging the first panel by overlapping slightly on the adjoining wall. This then would avoid any surprises later on, if during the installment of the first panel, there might be some parts on the corner of the wall that do not get covered because of the uneven line. Therefore, when marking the position of the first wallpaper on the wall, measure the space smaller than the actual width of it, to have some excess wallpaper going over the corner for a perfect finish. Afterall it is always easier to trim some excess wallpaper than having to reapply it.
Summary
- Mark the position of the first wallpaper smaller than its width for it to overlap slightly on the adjoining wall for trimming, to ensure a perfectly covered corner as walls are rarely straight.
Leaving Overage On Top And Bottom Of The Wall

As previously mentioned - walls are rarely straight. To avoid any surprises while wallpapering further down the wall, we strongly suggest leaving some small part of excess wallpaper both on top and bottom when installing each panel. As the ceiling can start to bend up or down in some parts, installing wallpaper with overlap will ensure that the wall will be fully covered. If after, for example, the middle of the wall the ceiling starts to bend up, for wallpaper to match perfectly, the top of the wall might not get covered, therefore, it would require to start over for a perfect result. Furthermore, if only following the ceiling line when wallpapering, if the wall is not straight, it might end up with the design starting to tilt and the bottom of the wall not getting enough wallpaper for full coverage. Above we can see an example where the Grey Meadow Wildflowers Nursery Removable Wallpaper has been applied to ensure a smooth and perfect finished line on the bottom, after carefully trimming the excess wallpaper.
Summary
- Leave some excess wallpaper on top and bottom for trimming when wallpapering, to achieve a perfectly covered wall and ideal pattern match, as ceilings can start to bend up or down.
Choosing Where The First And Last Wallpaper Panel Will Meet When Wallpapering The Whole Room

If planning to wallpaper all of the walls in a room, taking in mind that the wallpaper has a pattern repeat, the measurements of the walls might not always add up to a perfect first and last panel pattern match when getting around the room. To disguise this small pattern inconsistency one of the options is to start wallpapering from the most inconspicuous corner of the room, for example, behind the entrance door or a place that is not the main focal point of the room. If the room, for example, has a floor to ceiling bookshelf, then the perfect place to start wallpapering would be from one side of the bookshelf and finish on the other side. Above we can see the beautiful finished bedroom look by Grey with the Grey Meadow Wildflowers Nursery Removable Wallpaper making the room bloom for the new upcoming season.
Summary
- If wallpapering all of the walls in a room, find the most inconspicuous corner as, for example, behind the entrance door, that is not the main focal point, to start with, because the measurements of the walls not always might add up to a perfect first and last panel pattern match.
We hope these tips for hanging wallpaper correctly will help you prepare for your next wallpaper project for a perfect result and efficient wallpapering process. If you are looking to learn more about how to hang wallpaper, visit our How To Install Removable Wallpaper | Wallpaper 101 blog post for our self-adhesive wallpaper installation or How To Install Traditional Non Woven Wallpaper | Wallpaper 101 for our traditional wallpaper installation procedures.